Web Dashboard
Check on Outpost from your browser, see which containers it manages and why, and start a check without touching the command line.
Why Use the Dashboard?
- Shows the status, the next scheduled check, and the latest results on one page so you don't have to read container logs.
- Follows a running check live so you see the results the moment it finishes.
- Explains why each running container is or isn't managed so a missing update is easy to trace back to a label.
- Keeps the last 50 checks on disk so you can see what changed overnight, even after Outpost restarts.
- Creates its account on the first visit with a one-time code from the container log so no password sits in your Compose file.
Open the Dashboard
Open http://localhost:22601/admin/ on the Docker host, or http://<server-ip>:22601/admin/ from another computer on its network. Opening the same address without /admin/ takes you there too.
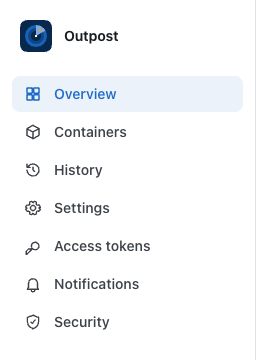
| Page | What it's for |
|---|---|
| Overview | The scheduler, the last check, and a Check now button. |
| Containers | Every running container, whether Outpost manages it, and a button to check one. |
| History | The last 50 checks, newest first. |
| Settings | The schedule, update behavior, and replacement timing saved in Outpost, plus read-only container bootstrap paths. |
| Access tokens | The access tokens that scripts use to call the API. |
| Notifications | The destinations that get alerts, and the events each one hears about. |
| Security | Your password, username, authenticator app, recovery codes, and passkeys. |
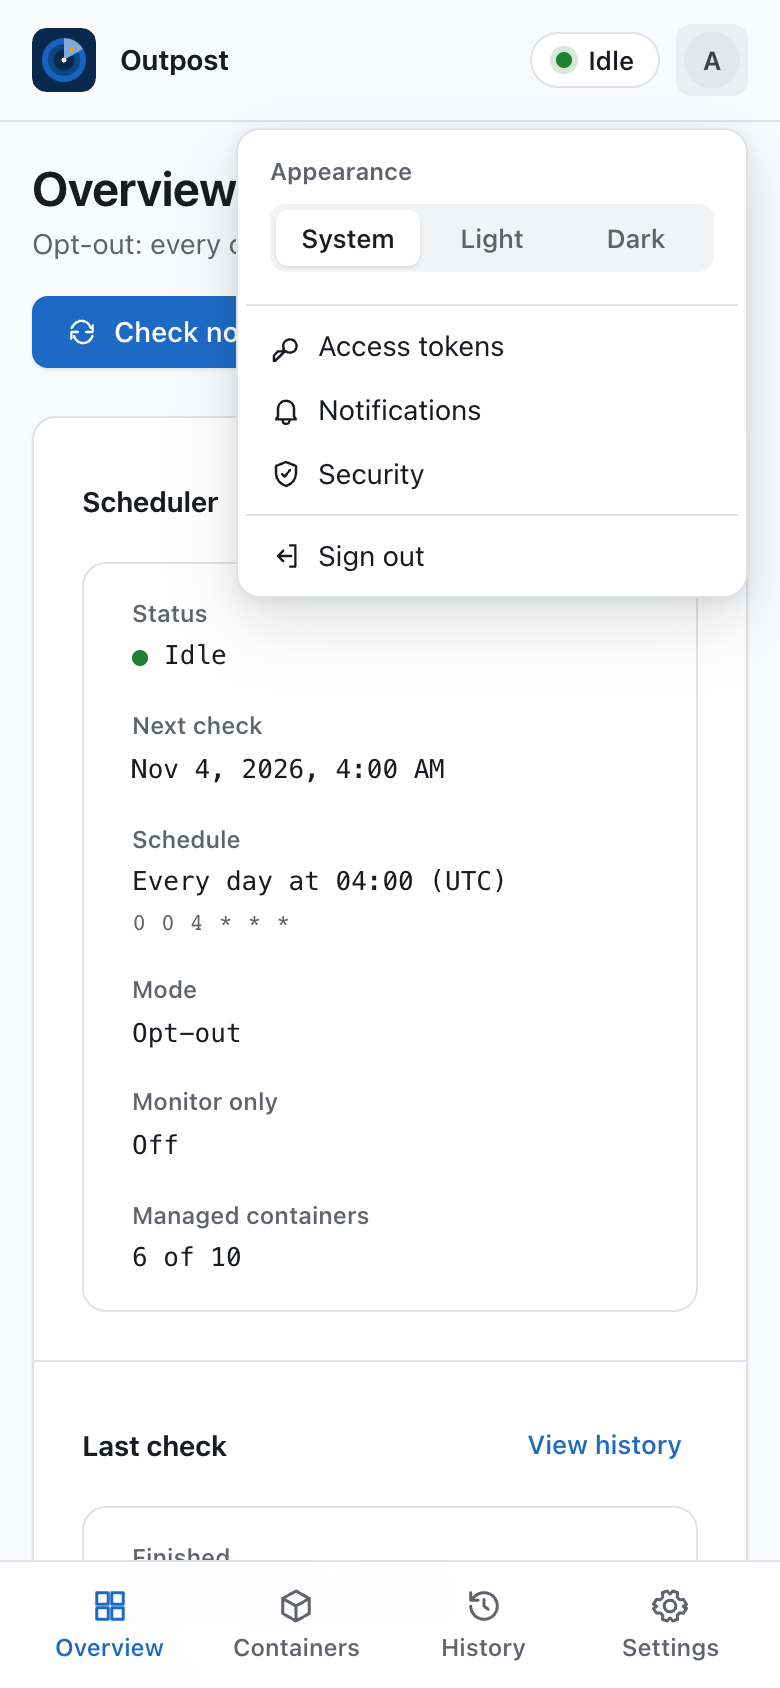
Access tokens, Notifications, and Security sit under Settings in the sidebar. On a phone, the other four pages move to a bar at the bottom of the screen, and these three move to the account menu.
Set Up Your Account
The first time you open the dashboard, it shows Set up your account. While no account exists, Outpost prints a setup code to the container log each time it starts:
No account exists yet. Open the dashboard to create it with the setup code.
  Setup code: K7Q2M-XR9TD-P4W8N
  Expires: 2026-10-25T08:30:00.000Z
- Read the code with
docker logs outpost, or withdocker compose logs outpostin a Compose project. - Enter it under One-time code.
- Choose a Username and a Password, and repeat the password under Confirm password.
- Select Create account. The dashboard opens already signed in.
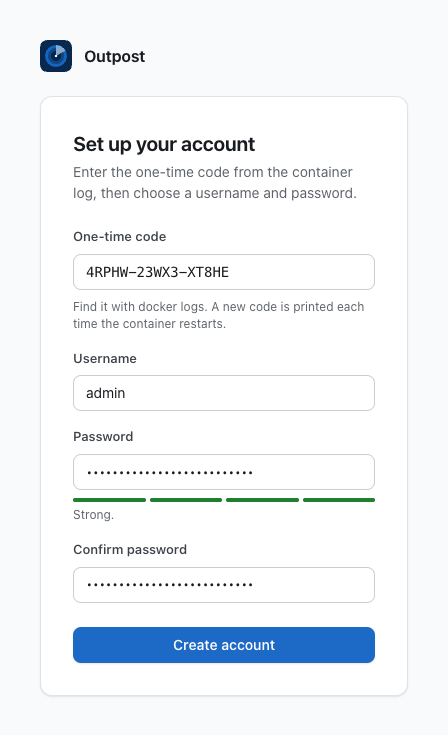
- Code lifetime — A code works for 30 minutes after Outpost starts. Each restart prints a new code, and the old one stops working.
- Typing the code — Letter case, spaces, and dashes don't matter.
- Username — 3 to 64 letters, numbers, periods, underscores, or hyphens, starting with a letter or number.
- Password — At least 12 characters. The bar under the field rates it from Weak to Strong, and any password of 12 or more characters is accepted.
- Wrong codes — After 10 wrong codes from one address within 15 minutes, setup from that address is refused until the window passes.
info
The code only appears in the container log, never in the dashboard. No username or password goes in your Compose file or environment variables.
Sign In
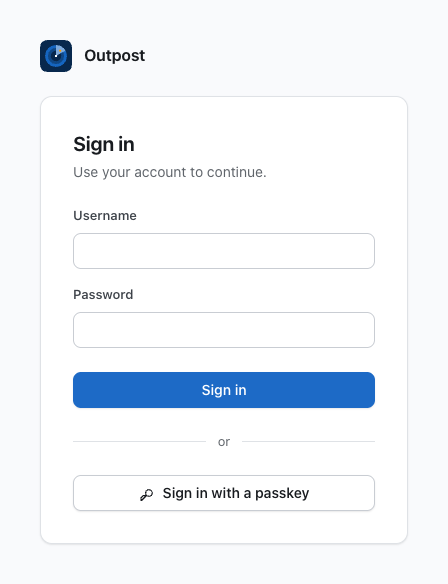
With a Password
- Enter your Username and Password. The username ignores letter case.
- Select Sign in.
An access token doesn't work here, because tokens are only for the API.
With an Authenticator Code
If you turned on an authenticator app on the Security page, the dashboard asks for a code after the password.
- Enter the 6-digit code from the app, or one of your recovery codes.
- Select Verify, or select Start over to go back to the password step.
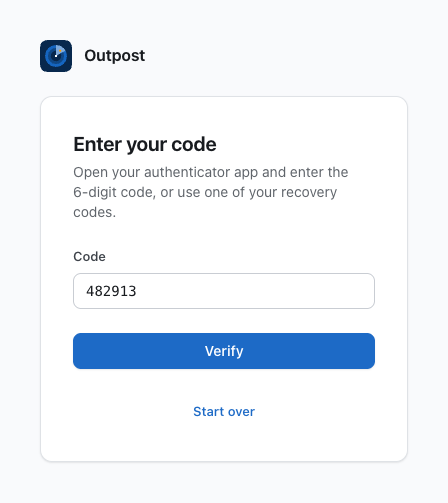
- You have 5 minutes after the password step, and 5 wrong codes send you back to it.
- Each code works only once. A recovery code works with or without its dash, in any letter case.
With a Passkey
- Select Sign in with a passkey.
- Confirm with your device or password manager when the browser asks.
- A passkey replaces the username, the password, and the code.
- A passkey works only at the address it was added on, as described in Account Security.
Staying Signed In
- A sign-in lasts 24 hours, and then the dashboard asks you to sign in again.
- Sign-ins are saved in the database, so restarting or updating Outpost doesn't sign you out.
- Changing the password signs out every other browser. Sign out in the account menu ends your own sign-in right away.
Failed Sign-Ins
- Wrong passwords, wrong codes, and rejected passkeys from one address share a limit of 10 in 15 minutes. After that, sign-in from that address is refused with
Too many sign-in attempts. Try again in 15 minutes. - A wrong password on the Security page counts toward the same limit.
- A successful sign-in clears the count, and so does restarting Outpost.
- The setup screen has its own count of 10 wrong codes in 15 minutes.
- When an address reaches the sign-in limit, Outpost sends the Sign-in locked alert to the destinations that chose it, as described in Notifications.
Overview
The Overview page follows the scheduler live, so it changes as soon as a check starts or finishes.
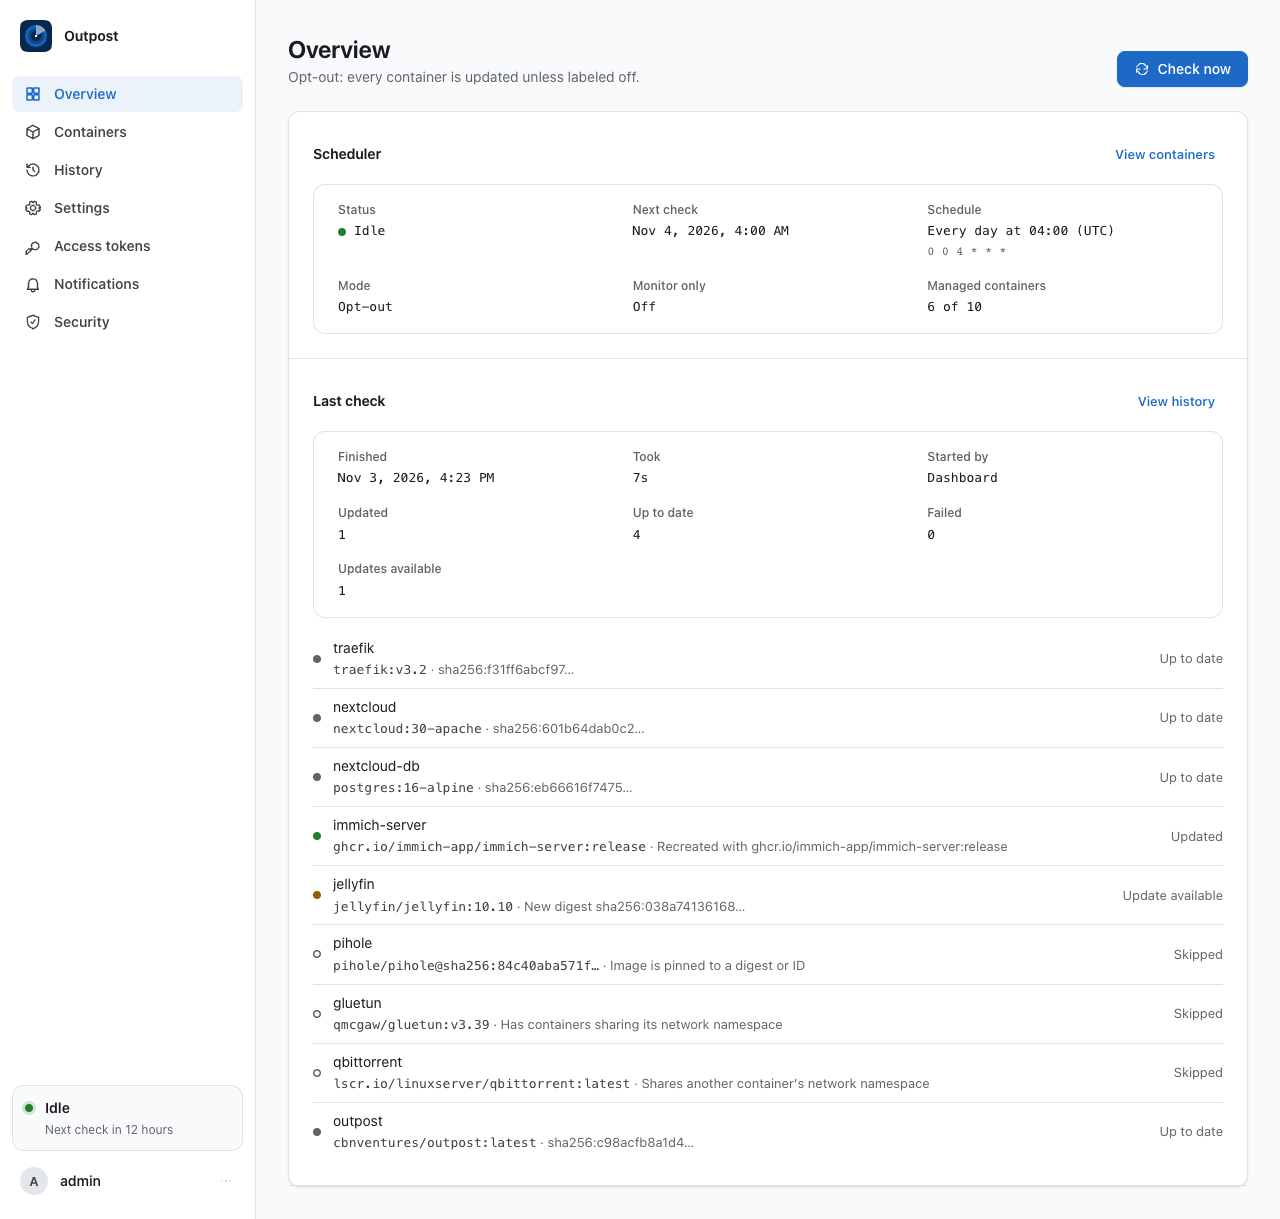
- Scheduler — Whether Outpost is idle or checking, the next check, the schedule in words with its time zone above its cron expression, the label mode, whether monitor-only is on, and how many containers are managed.
- Last check — When it finished, how long it took, and what started it. It also counts the containers that were updated, up to date, or failed, and lists each result.
- Check now — Starts a cycle for every managed container. Outpost checks itself last, and when it has a newer image, the dashboard reconnects on its own while Outpost restarts.
The card at the bottom of the sidebar shows the same status on every page. It also warns you when Docker can't be reached or the last check failed.
Containers
The Containers page lists every running container with its image, its last result, and whether Outpost manages it.
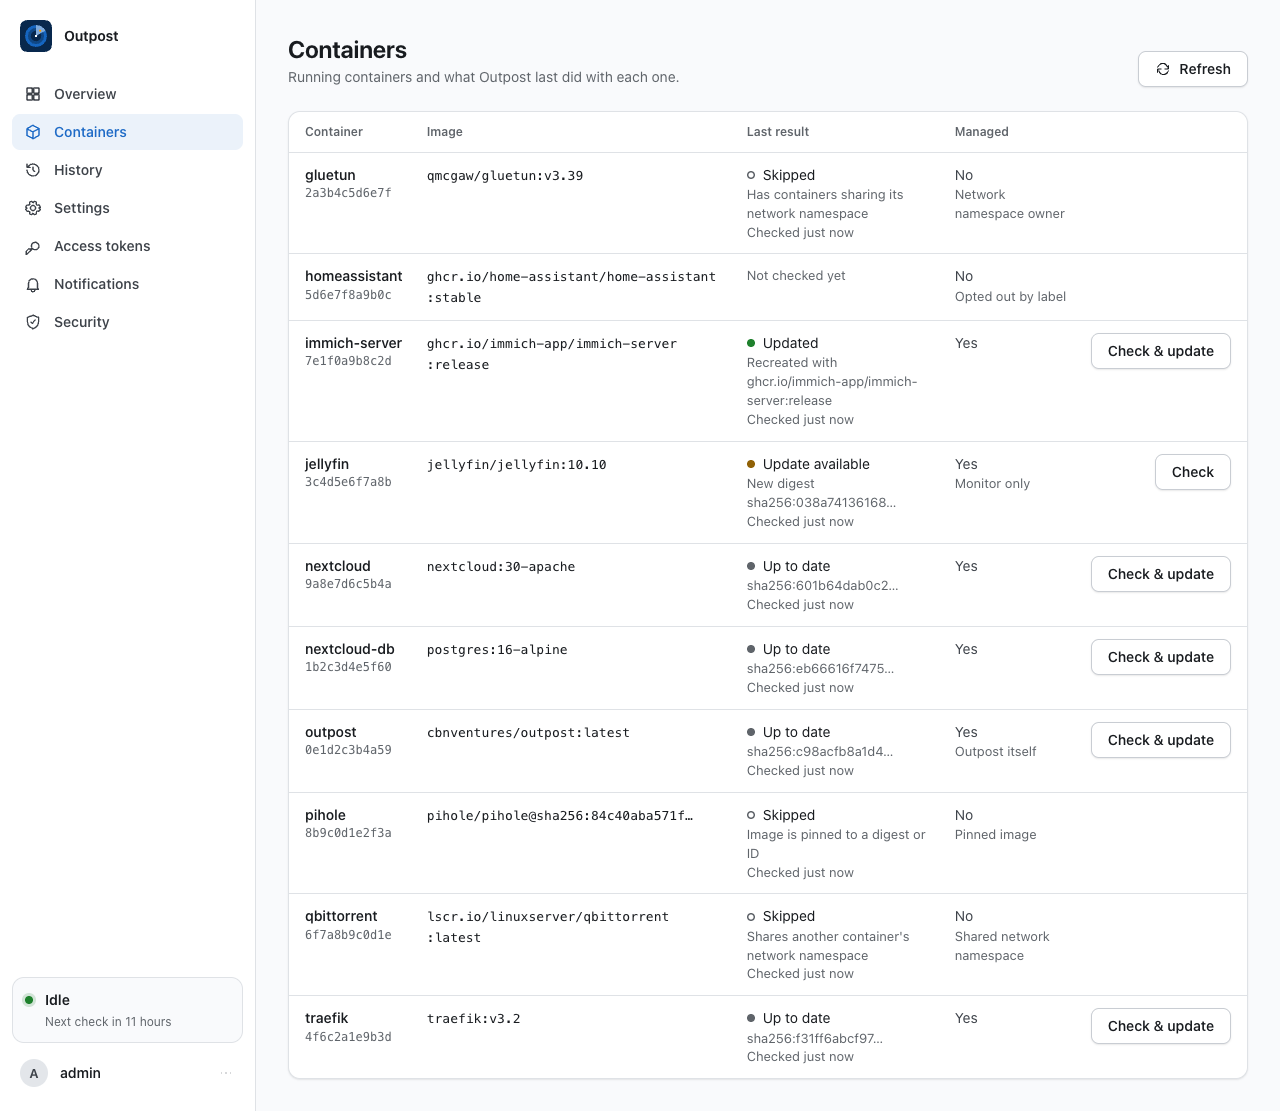
- Last result — What the most recent check did with that container, and when. A container that no check has looked at yet shows Not checked yet.
- Managed — Yes, with Outpost itself under Outpost's own row and Monitor only under monitor-only containers, or No with one of the reasons below. On a phone, it moves under the container's name, such as Managed · Outpost itself.
- Refresh — Loads the list again.
| Reason | Why Outpost leaves the container alone |
|---|---|
Opted out by label | The container has io.cbnventures.outpost.enable=false. |
Not opted in | Opt-in mode is on, and the container doesn't have io.cbnventures.outpost.enable=true. |
Pinned image | The image is pinned to a digest or ID, so there's no tag to follow. |
Shared network namespace | The container uses another container's network. |
Network namespace owner | Another container uses this container's network. |
Automatic removal enabled | The container was started with --rm. |
Outpost container | Outpost couldn't find its own container, so it leaves every container running an image named outpost alone. |
When Outpost can't reach Docker, the page shows Outpost can't reach Docker. Check that the Docker socket is mounted. instead of the list.
Checking a Single Container
Managed containers have their own button:
- Check & update — Checks that container and updates it when a newer image exists.
- Check — Shown for monitor-only containers, which are only checked and never recreated.
Outpost's own Check & update asks first, because an update restarts Outpost. The Update Outpost itself? dialog explains that the dashboard reconnects on its own and that the check shows in History once it's done:
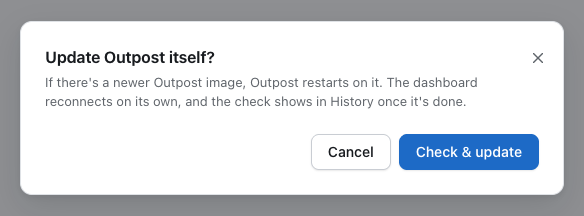
- Check & update — Starts the check, as described in Updates and Rollback.
- Cancel — Closes the dialog without checking.
A monitor-only Outpost shows Check instead, which doesn't ask, because it never restarts Outpost.
A single-container check is a short cycle of its own. Its report lists only that container, and it's saved to the history like any other.
info
Only one cycle runs at a time. While one is running, whether the schedule, the API, or the dashboard started it, the buttons can't be selected.
History
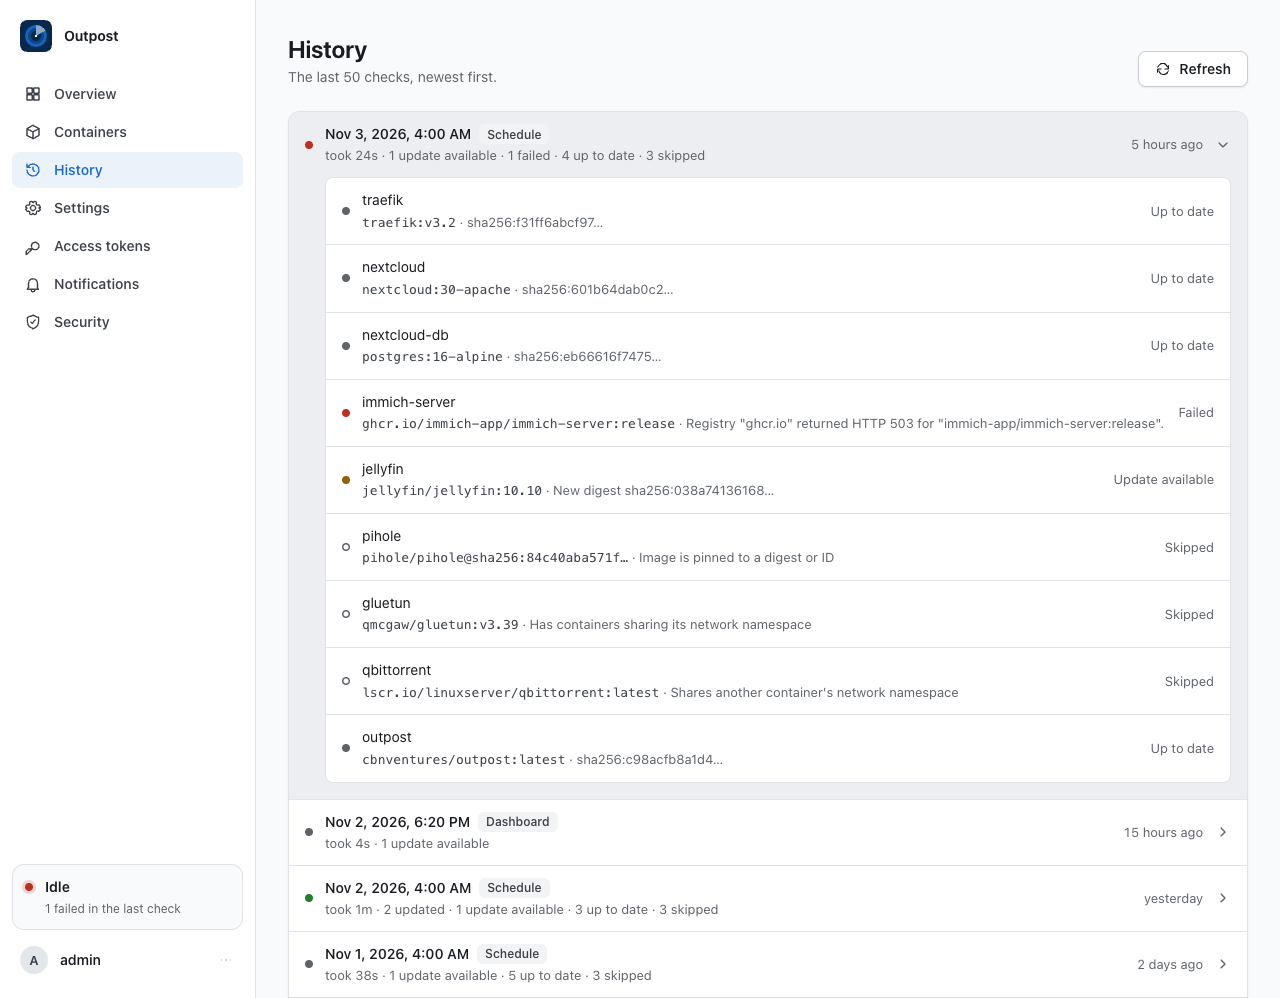
- The History page lists the last 50 checks, newest first. Each one shows when it started, what started it (Schedule, Startup, API, or Dashboard), how long it took, and how many containers had each result.
- Select a check to see each container's result. A check that failed as a whole shows its error at the top.
- The history is saved to
history.jsonin the data directory, so it survives a restart when/datais on a volume.
Settings
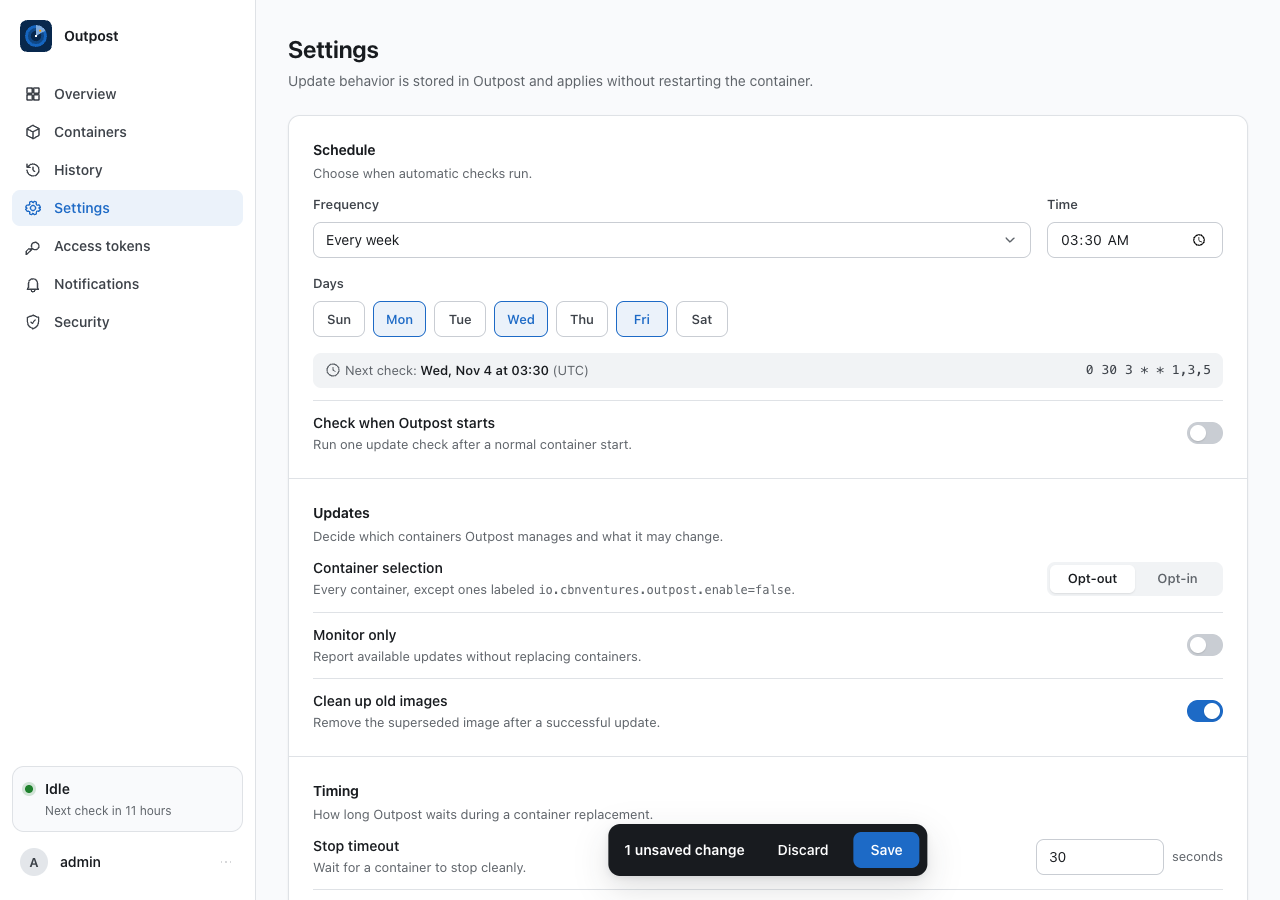
The Settings page edits the schedule, update behavior, and replacement timing stored in Outpost's database, one setting per row. Changing anything brings up a bar with the number of unsaved changes, Discard, and Save. Saving applies the new behavior immediately, including rebuilding the active schedule.
- Schedule — Pick Every hour, Every few hours, Every day, Every week with its days, or Custom (cron). The line under it shows the next check and its cron expression, in the time zone Outpost runs in.
- Private registries — Sign-ins for private images, added, edited, and removed on their own, apart from the save bar, as described in Private Registries.
- Container runtime — The Docker host and data directory. Outpost needs them before it can open its database, so they're set in Compose and change only after a restart.
Notification destinations stay on the Notifications page. See Configuration for the boundary between database settings and container bootstrap values.
Appearance
Choose System, Light, or Dark under Appearance in the account menu. System follows your device's setting, and the choice is saved in this browser only.
Keep Your Data
The account, its sign-ins, the access tokens, the notification destinations, the private registry sign-ins, and the history live in the data directory, which is /data by default. Mount a volume at /data so they survive when the container is replaced.
Without a volume, they're lost whenever the container is replaced, and the dashboard asks for setup again. See Backup and Recovery for what the folder holds and how to back it up.
Saved Secrets Notice
If Outpost starts without its encryption key, it makes a new one, turns off the authenticator app, and removes the secret fields of notification destinations and the passwords of private registry sign-ins, because the old key sealed them. The dashboard then shows Saved secrets were removed at the top of every page, with the date Outpost made the new key and a link for each thing to enter again.
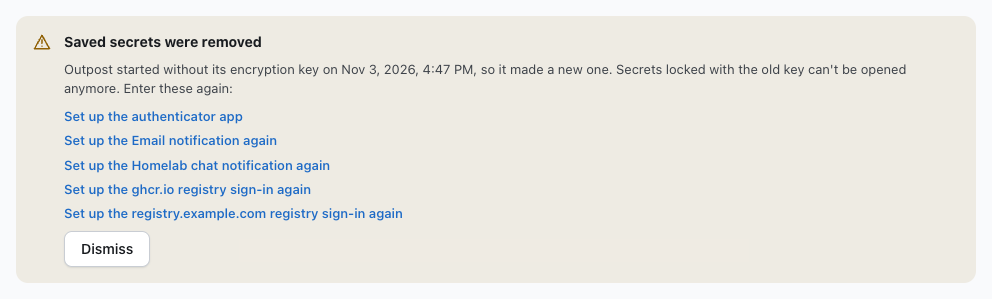
- Set up the authenticator app — Opens the Security page. Turning the authenticator app on again there takes it off the notice.
- Set up the … notification again — Appears with the name of each destination that lost secrets, and opens the Notifications page. Entering its secrets again with Edit takes it off the notice and resumes its alerts.
- Set up the … registry sign-in again — Appears with the host of each private registry sign-in that lost its password, and opens the Settings page. Entering the password again with Edit under Private registries takes it off the notice.
- Dismiss — Hides the notice. Anything not entered again stays removed, those destinations stay paused, and private images from those registries can't be checked.
See Backup and Recovery for what a lost key removes and what stays.
Behind a Reverse Proxy
Outpost serves plain HTTP. To reach the dashboard over HTTPS, put a reverse proxy such as Caddy in front of it:
outpost.example.net {
  reverse_proxy 127.0.0.1:22601
}
Outpost has no proxy setting. It reads the X-Forwarded-For, X-Forwarded-Proto, and X-Forwarded-Host headers only from connections that come from these loopback and private addresses:
127.0.0.0/8,10.0.0.0/8,172.16.0.0/12, and192.168.0.0/16::1andfc00::/7
A proxy on the same host or on the same Docker network falls in these ranges.
- Client address — The sign-in limit and the API's rate limit count each client by the address in
X-Forwarded-For. Outpost reads the list from the end and stops at the first public address. - HTTPS —
X-Forwarded-Proto: httpsmarks the sign-in cookieSecureand allows passkeys. - Hostname —
X-Forwarded-Host, or theHostheader when it's missing, is the address that passkeys are tied to. - Own hostname — Give Outpost its own hostname, such as
https://outpost.example.net, because a sub-path such ashttps://example.net/outpost/isn't supported.
warning
A device on your network with a private address can send these headers itself and choose the address its limits count against. When the reverse proxy runs on the Docker host, bind Outpost to 127.0.0.1 instead of every address, as the Quick Start publishes it, so only that proxy can reach it.
Security Notes
The dashboard can start updates on your Docker host, so it is worth protecting like SSH access:
- Network exposure — Publishing on every IPv4 and IPv6 address makes Outpost reachable from the host's networks. Keep port
22601behind the host firewall and never expose it directly to the public internet. Bind it to127.0.0.1instead when access goes through a same-host VPN, SSH tunnel, or HTTPS reverse proxy. - Stored secrets — The password is kept as a salted scrypt hash, and access tokens, sign-ins, and recovery codes as SHA-256 hashes. The authenticator app's secret, the secret fields of notification destinations, and the passwords of private registry sign-ins are encrypted with the encryption key, and passkeys are kept as public keys only.
- Files — The database and the key file can be read only by the user in
PUID, inside a folder only that user can open. - Cookie — The sign-in cookie
outpost_sessionisHttpOnly,SameSite=Strict, andSecureover HTTPS. Every change also needs the sign-in's CSRF token in theX-CSRF-Tokenheader. - Page hardening — Dashboard pages send a strict Content Security Policy and refuse to be framed.
The routes the dashboard calls are listed in HTTP API and Metrics.